🔑 Unlocking the World with the Mystic Key
When I was a kid, getting the Mystic Key felt like one of the hardest achievements in Final Fantasy I. It was a huge milestone—a key (literally!) that opened up so many previously inaccessible doors and treasures. In the Pixel Remaster, you can reach this point relatively quickly, especially if you follow this Final Fantasy walkthrough guide—just like you’re doing now by reading this!
🗝️ Where to Use the Mystic Key
Once you’ve got the Mystic Key, it’s time to backtrack and unlock all those sealed doors:
- ✅ Marsh Cave – Head back and loot valuable gear.
- ✅ Western Keep – Return to the site where you fought Astos and unlock his secret room.
- ✅ Chaos Shrine – Revisit the place where you battled Garland to access two locked rooms.
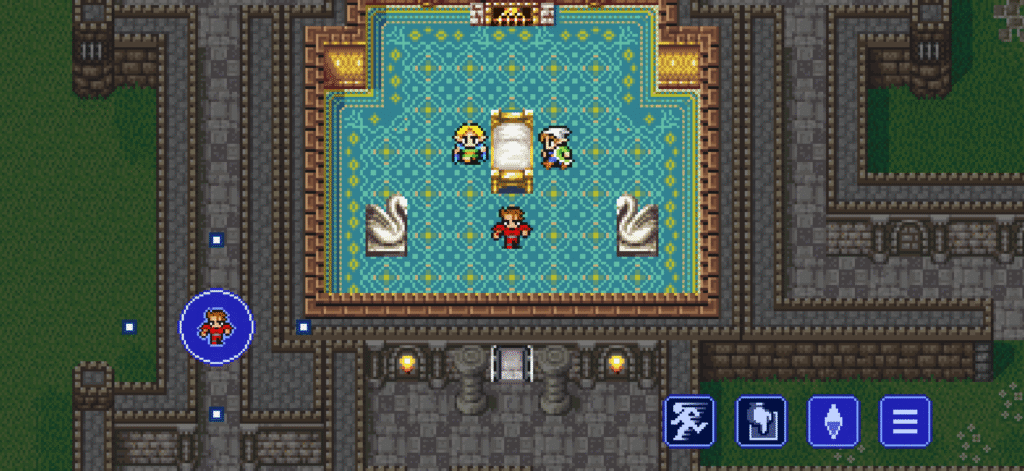
- ✅ Cornelia Castle – Open the locked rooms here to discover TNT, critical for progressing the story.
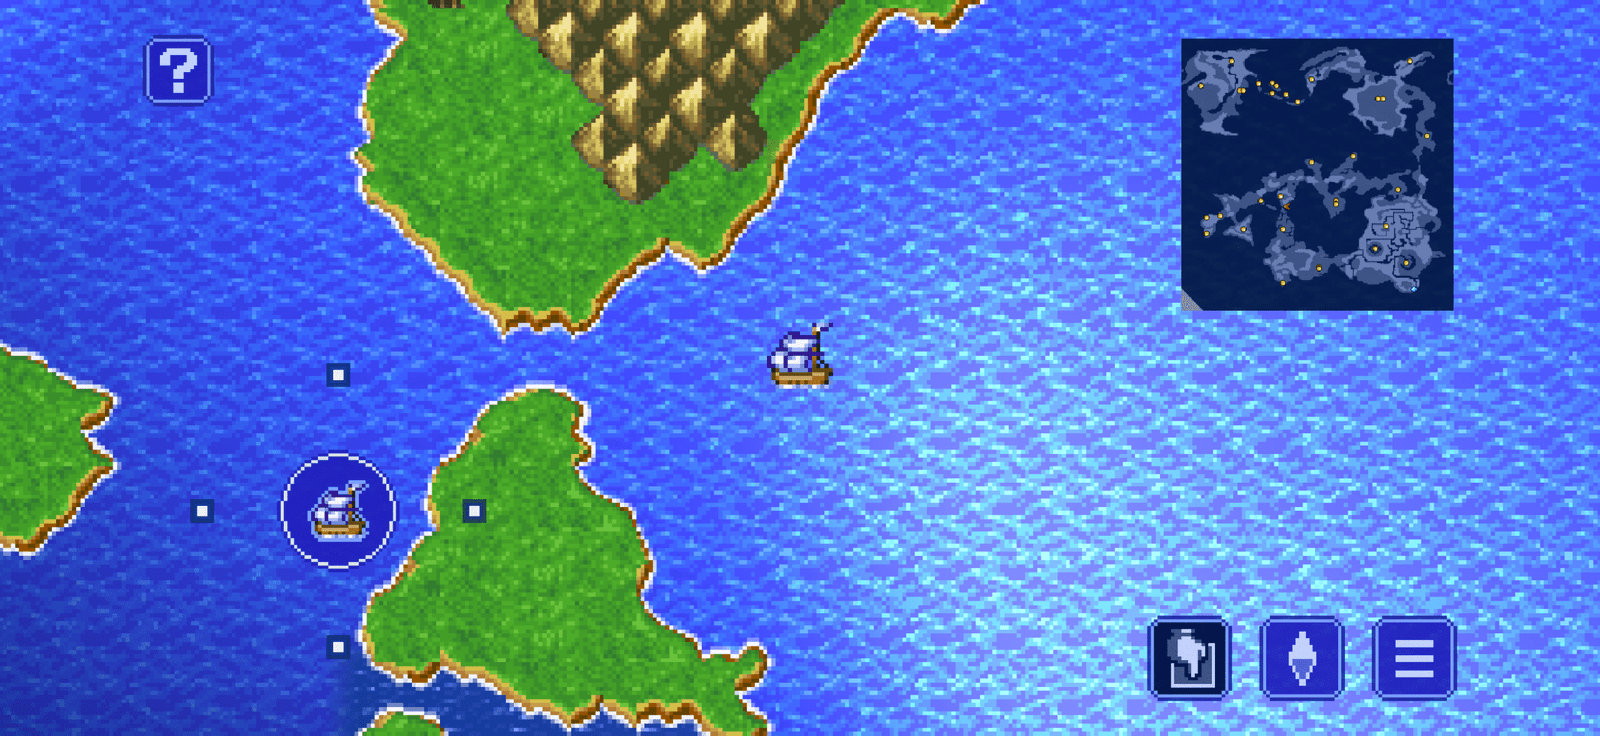
🌍 Expanding the World
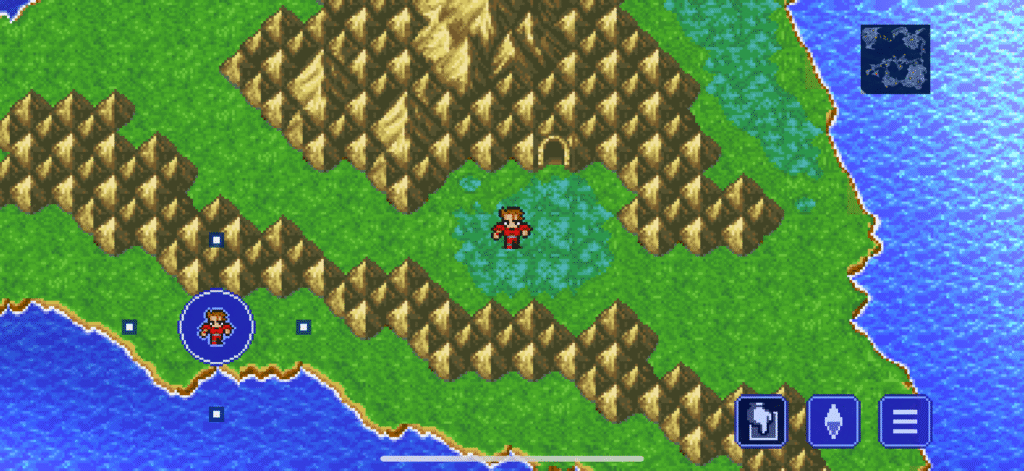
Once you’ve looted the locked rooms, sail northwest in your boat to a port, then continue west until you reach the Dwarf Cave in Mount Duergar.
Here’s what to do:
- Speak to a dwarf searching for Adamant (this will come into play later).
- Find the dwarf who needs TNT—give it to him to blast open a landmass and unlock the rest of the world map!
🏚️ Melmond and the Earth Cave
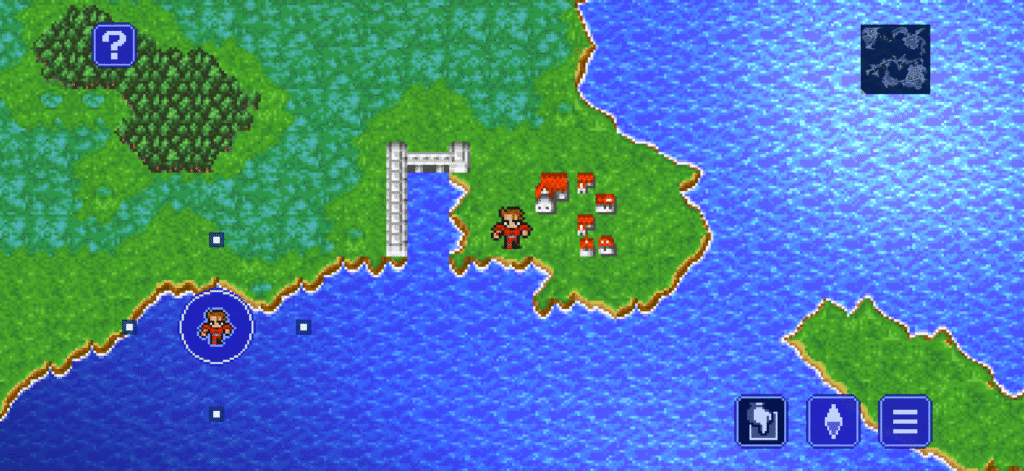
Next, head west to reach Melmond, a crumbling town suffering under the Earth Fiend’s influence. Restock on gear and spells.
Then:
- Head west and south into the Earth Cave.
- Navigate through corridors and defeat the Vampire mini-boss.
- Obtain the Ruby he drops.
🪨 Titan’s Tunnel & The Sage’s Gift
With the Ruby in hand:
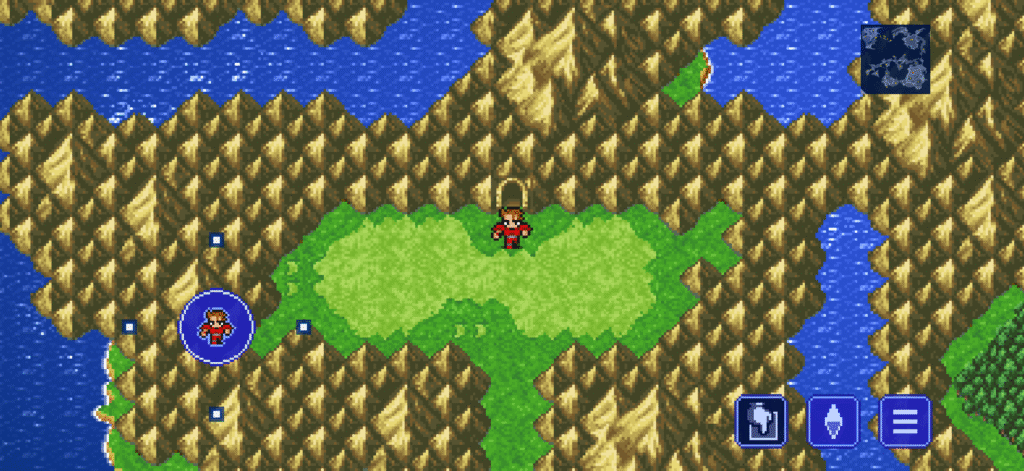
- Go northwest to Titan’s Tunnel.
- Give the Ruby to the giant to pass through.
- Don’t forget to explore the tunnel’s south path for extra treasure!
- Continue west and south to find Sadda the Sage—he’ll give you the Earth Rod, which is needed to break the seal deeper inside the Earth Cave.
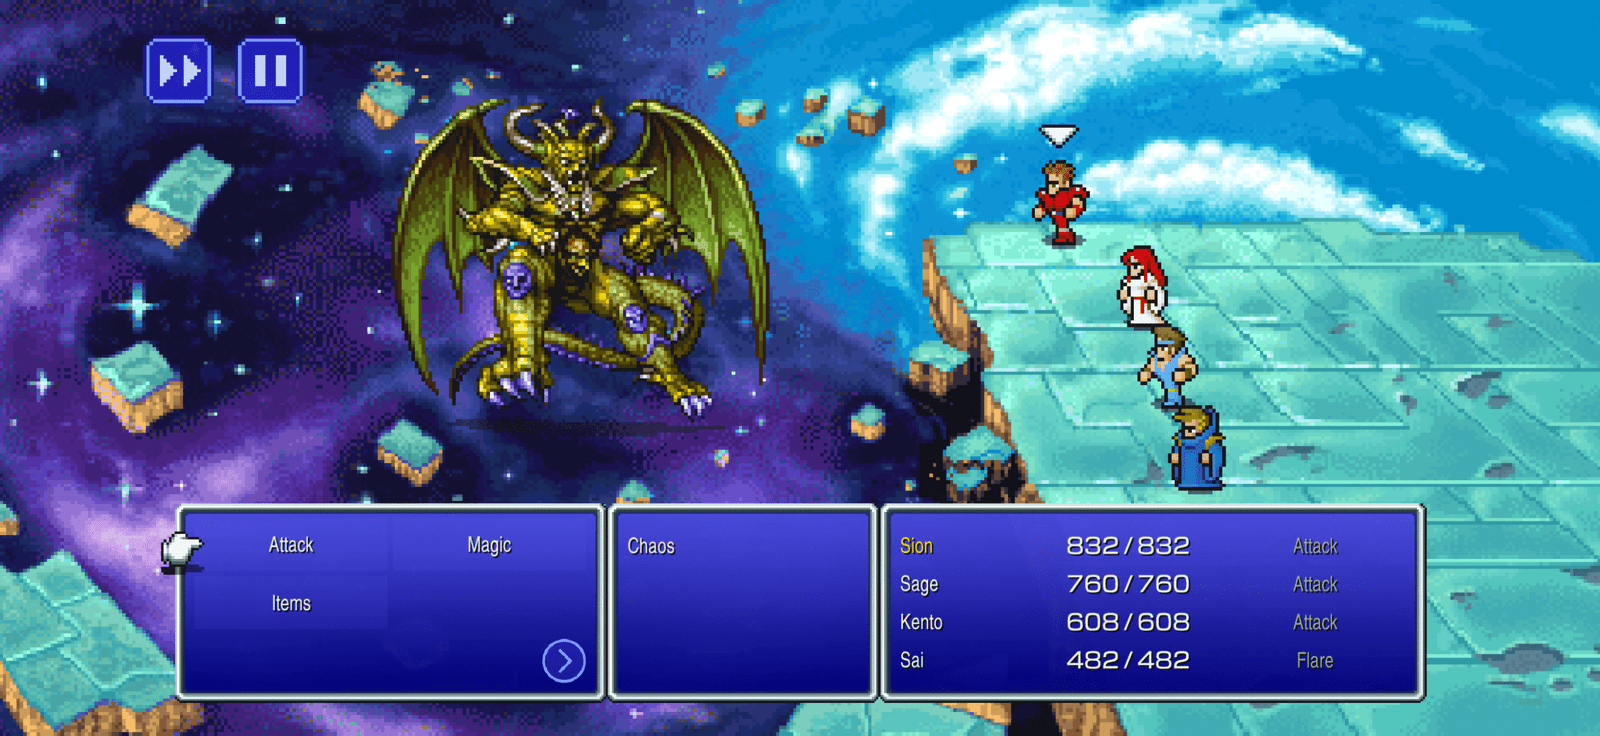
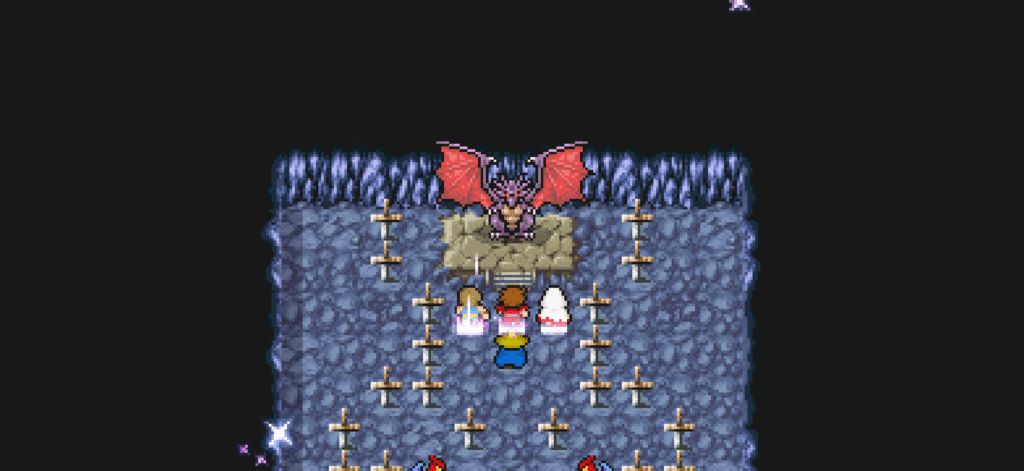
💀 Confronting Lich
Return to the Earth Cave:

- Use the Earth Rod to break the seal past the Vampire’s room.
- Continue downward until you face Lich, the Fiend of Earth.
- Defeat Lich to restore light to the Earth Crystal.
🔹 Pro Tip: After beating Lich, a circle of light appears. It’s a teleport—step on it to skip the long walk out!
✈️ Beyond the Earth Fiend
Now it’s time to jump back in your boat and continue the journey:
- Head west, wrap around the map, and dock at the next port.
- Travel west to reach Crescent Lake, home of Lukahn the Sage.

While you’re in town:
- ✅ Buy powerful new weapons and armor.
- ✅ Upgrade your magic spells.
Then head east through town to the Circle of Sages—one of them will give you the Canoe.
🔥 Volcano or ❄️ Ice Cave?
With the Canoe, you can now explore rivers and lakes. Your next big choice:
Option 1:
Go to Mount Gulg (the Volcano) and face the Fire Fiend.
Option 2 (My Choice):
Head to the Ice Cave first to get the Levistone (Floating Stone).
🧊 Conquering the Ice Cave
Here’s why I tackled the Ice Cave first:
- You’ll get Ice Equipment, helpful in the Fire Cave.
- You’ll find the Levistone, which unearths the Airship!
🧩 The Levistone Puzzle:
- Find the correct treasure room with the right hole to fall through.
- If you land in the wrong spot, just climb back up and try again!
Once you’ve grabbed the Levistone, head southeast using your boat and Canoe combo.
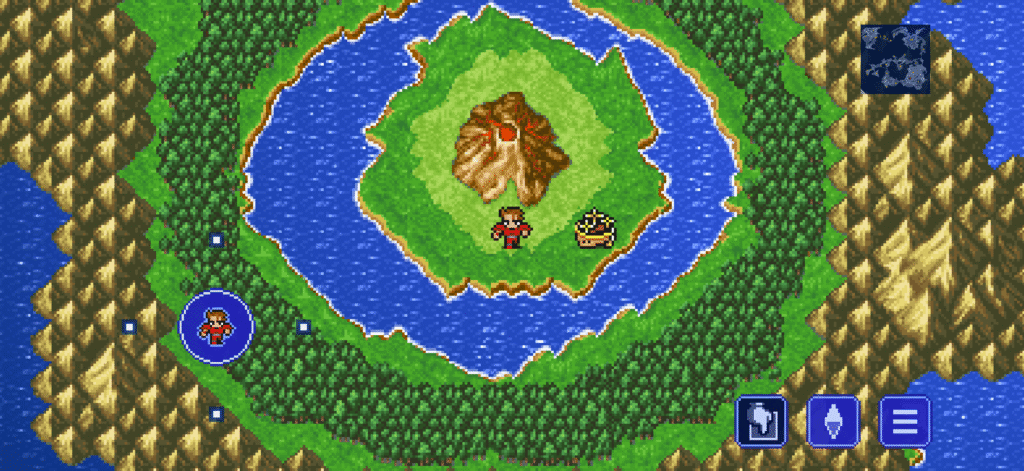
🚀 Unearthing the Airship
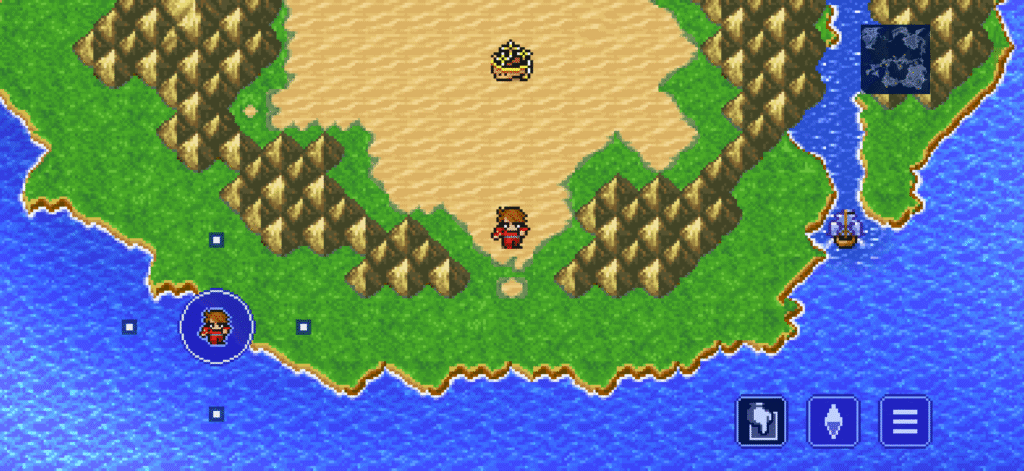
As soon as you enter the desert with the Levistone, an action cutscene will trigger—and reveal the Airship!
📝 Fun Fact:
The original NES manual recommended tackling the Volcano first. But I preferred unlocking the Airship early to access the full map—especially since the northern continent has no docks.
🌐 Unlocking the World
With the Airship, you can:
- Fly anywhere—skip boat routes entirely.
- Access new locations to grind levels and find better loot.
- Take on the remaining Fiends in any order.
🔥 Return to Mount Gulg
After leveling up and restocking magic, I headed to Mount Gulg. This fiery dungeon is filled with lava tiles that cause damage as you walk—so make sure to bring:
- 🧪 Hi-Potions
- 🧙 Ethers
- 💬 Healing Magic
📚 Wrapping Up Part Two
Since the OG guide tapped out here, that’s our cue to wrap it up too. But now that you’ve got the airship? The whole freakin’ world is your playground. You’ve got three rides now—the ship, the canoe, and the magical flying Uber that is the airship. You’ll need all three to finish the game, so don’t go trading in your canoe just yet.
Keep grinding those levels, explore every nook and cranny, and never skip a treasure room—because that loot isn’t gonna grab itself. Whether this was your first time playing Final Fantasy I or a nostalgic trip back to your pixelated roots, I hope you had as much fun as I did.

Stick around—I’ll post the ending below for those of you who just wanna see how it all wraps up without battling through 1,000 random encounters. Until next time, peace out and may your potions never run dry! 🗺️⚔️💥
💬 Let Me Know!
How are you enjoying the Pixel Remaster so far? Drop your thoughts in the comments!
~ Sean Flac 2.0
Leave a Reply