
If you haven’t checked out Part One, I highly recommend starting there! We covered the background of Final Fantasy I and some production notes about the Pixel Remaster. Now, let’s dive into the game itself—just like we used to do with the original instruction booklet back in the day. Here’s a nostalgic walkthrough.
Getting Started: Picking Your Party
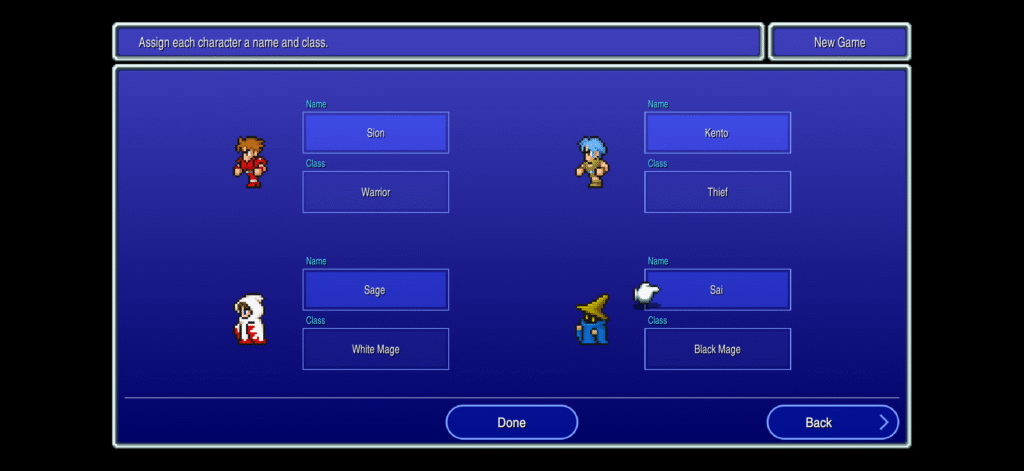
The first thing you’ll do when you boot up Final Fantasy I is choose your party. The default party is a Warrior, Thief, White Mage, and Black Mage—a classic, balanced setup.
But this is where your own style comes in. For example, I went with a Warrior, Monk, Black Mage, and White Mage. This gave me a solid frontline with strong healing and damage-dealing magic.
Another option I’ve seen is running three Warriors and one White Mage. That’s a powerhouse party for physical attacks, but it can get a little monotonous since there’s not much variety in spellcasting or strategy. Ultimately, it’s your call—experiment with different lineups and see what works best for your playstyle.
The First Quest: Save Princess Sarah
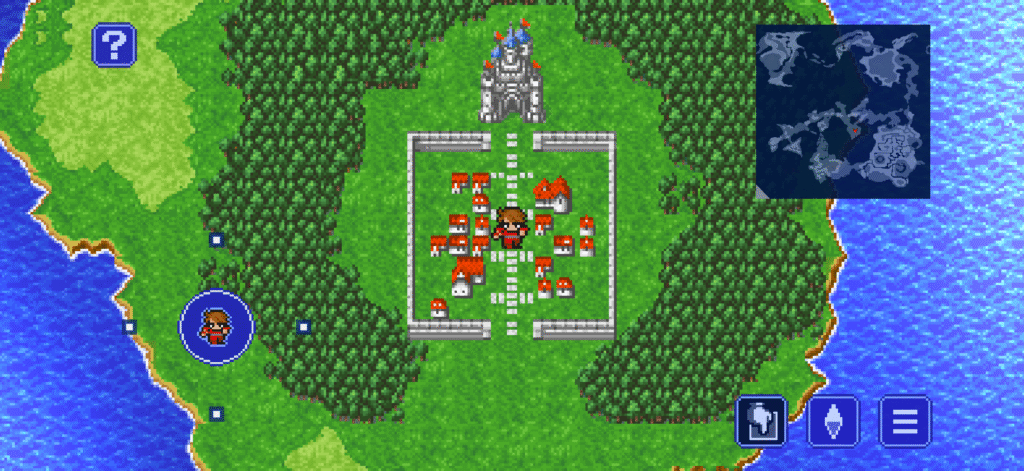
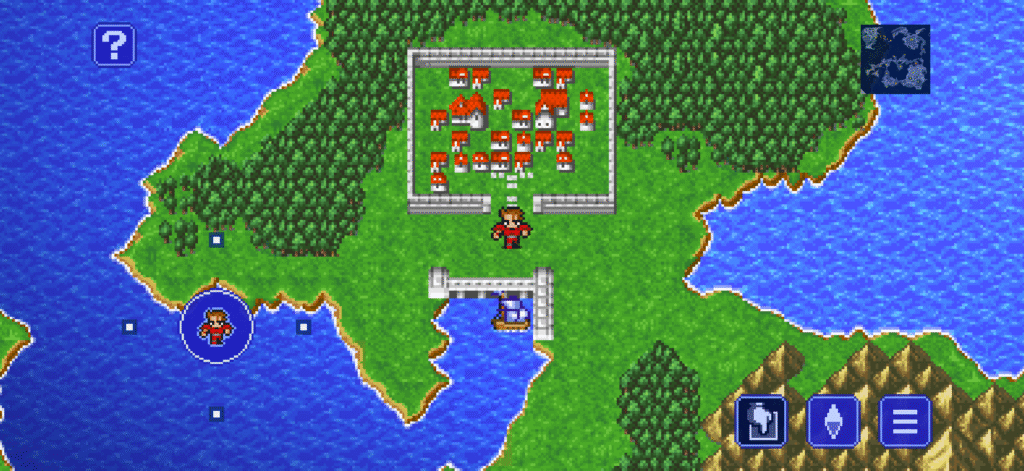
Once you’ve chosen your party, you’ll start right outside Cornelia Castle. Head inside and talk to the King—he’ll tell you that Princess Sarah has been kidnapped by the evil knight Garland. He promises to build a bridge north of town to help you continue your quest if you can rescue her.
You and your party are known as the Warriors of Light because you carry four mysterious crystals, each representing an element. This sets the stage for your quest to restore light to the world.
Leveling Up and Gearing Up
Before rushing off to face Garland, spend a little time grinding outside of Cornelia to reach level 5. Hit up the weapon and armor shops in town to get the best gear you can afford. If you chose to include a Black Mage or White Mage, be sure to visit the respective magic shops to buy essential spells.
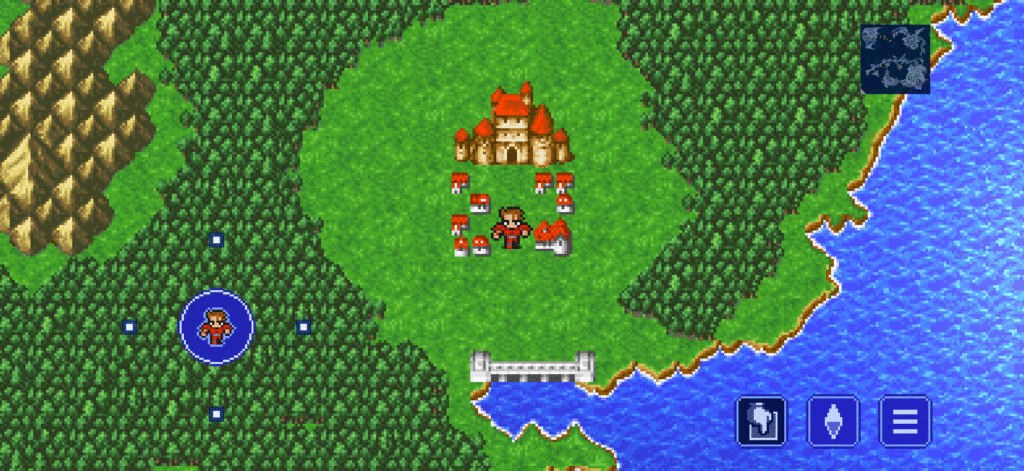
Once you’re ready, head north to Garland’s lair, known as the Chaos Shrine. At level 5, your party should be able to handle Garland without too much trouble.
Saving the Princess and Beyond
Defeat Garland, and you’ll rescue Princess Sarah. She’ll reward you with the Lute, a key item that will come in handy later in the game. Meanwhile, the King will complete construction of the bridge north of Cornelia, allowing you to continue your journey.
As you cross the bridge, you’ll see the game’s iconic opening cutscene—complete with the Final Fantasy logo and theme music. Even now, that moment gives me chills.
⸻
That’s the first leg of your adventure! Let me know in the comments:
• What’s your favorite party setup?
• Do you remember your first time defeating Garland?
• How did it feel to cross that bridge and see that cutscene?
Crossing the Bridge and Setting Sail
After crossing the bridge and experiencing that iconic cutscene, it’s time to head east toward the town of Pravoka. When you arrive, you’ll find the town overrun by pirates led by the infamous Bikke.
Before challenging Bikke, make sure to level up your party, buy the best gear available, and stock up on essential spells and items. Bikke himself isn’t too tough, but the pirates can hit hard if you’re underleveled. Once you defeat him, he’ll surrender and give you his ship, opening up the game world in a big way!
Sailing to Elvenheim
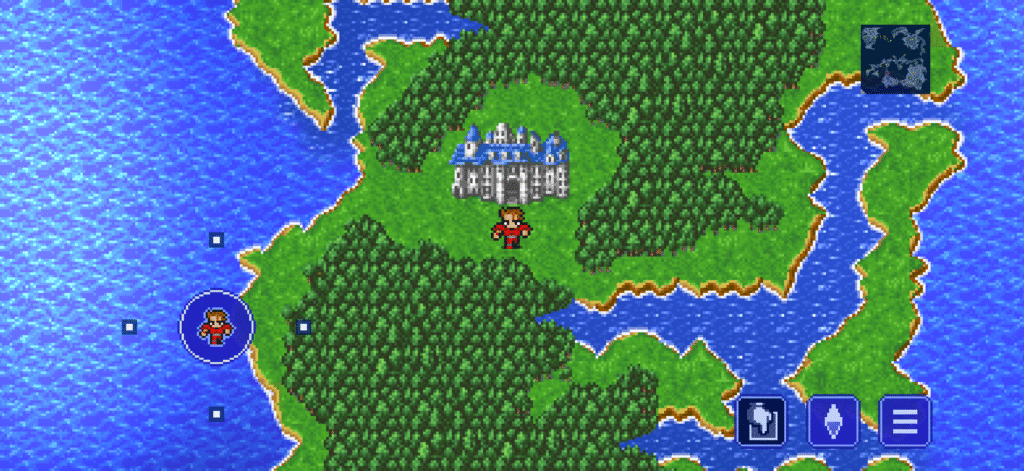
With your ship docked at Pravoka’s port, sail south until you hit the coastline, then head a little west to the next port town: Elvenheim (Elfland in the original). Here, you’ll learn that the Elven Prince has been put into a deep sleep by the dark elf king, Astos.
Take the opportunity to restock your magic, especially antidotes. If your White Mage hasn’t learned Poisona yet, antidotes are a must since many enemies in this area can poison your party members.
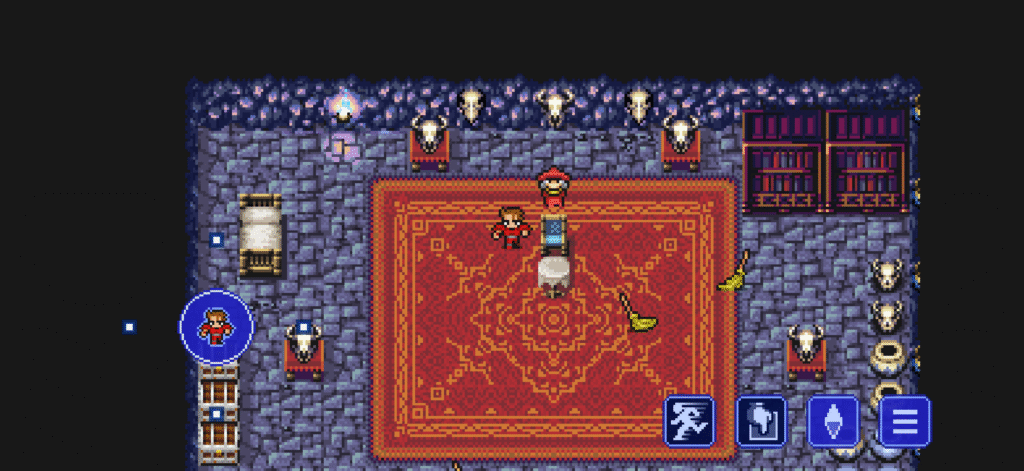
The Crown Quest: Marsh Cave
In Elvenheim, you’ll hear rumors about a mysterious old king who can help. Head west to find the Western Keep, where the old king will ask you to retrieve his crown from the Marsh Cave.
From the Keep, travel south to the Marsh Cave itself. It’s a bit of a labyrinth and full of enemies that can poison you, so be sure to heal status effects regularly—otherwise, you’ll lose HP with every step you take.
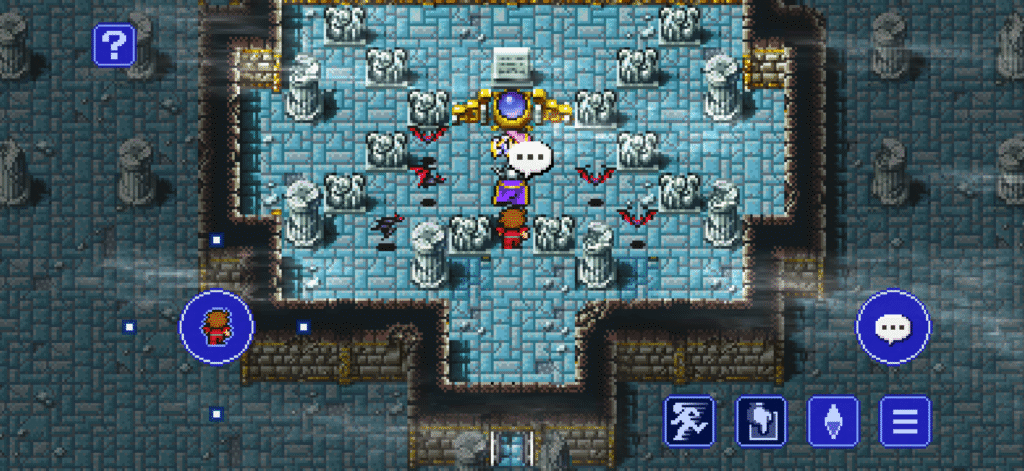
Once you retrieve the crown and bring it back to the old king, plot twist: he’s actually Astos, the dark elf king in disguise! Defeat Astos in battle, and he’ll drop a crystal eye.
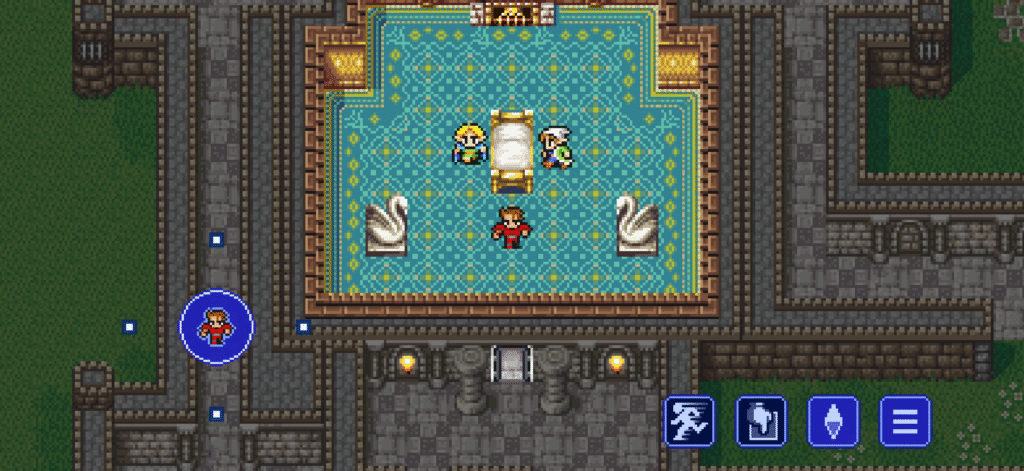
Motoya’s Cave and the Mystic Key
Next, take the crystal eye north of Pravoka to Matoya’s Cave. Astos stole the crystal eye from Matoya, and she can’t see without it! Return it to her, and in gratitude, she’ll give you the Jolt Tonic (or Herb, depending on the version)—a potion that can wake up the sleeping Elven Prince.
Bring the tonic back to Elvenheim and use it to awaken the prince. He’ll reward you with the Mystic Key, a crucial item that unlocks sealed doors throughout the game, opening up new treasures and paths.
⸻
Next Steps
That wraps up this leg of our journey! From here, the world of Final Fantasy opens up even more, with new dungeons to explore, powerful items to discover, and epic battles to fight.
Stay tuned for Part Two, where we’ll tackle the next challenges, including unlocking sealed treasures and confronting new foes!
In the meantime, let’s keep the nostalgia alive in the comments:
• Did you remember the big twist with Astos?
• What’s your go-to party composition for this section of the game?
• Do you remember the first time you finally got the ship and felt like the whole world opened up?
Let’s relive those memories together!
~ Sean Flac 2.0
www.instagram.com/sean_flac2.0
Leave a Reply